For developers and content managers, creating an editable navigation bar and footer can streamline website updates and management.
If you’re migrating from Forestry.io, one feature you would definitely miss is to update your website’s navigation bar. For the most part, I do feel DecapCMS (Formerly Netlify CMS) is a perfect alternative to Forestry, but it does not natively support editing Hugo’s default navigation bar.
In this guide, we’ll show you how to leverage Hugo, a popular static site generator, with Decap CMS (Formerly Netlify CMS) for content management, and YAML data files to create a fully customizable navigation bar and footer.
Assumptions:
- You have basic knowledge of both Hugo as well as DecapCMS
- You’ve already set up Decap CMS for your project
- Your navigation bar doesn’t require more than one list of children links (else you’d have to adapt the example code accordingly)
Use Data Files
Step 1: Creating a Data File in Hugo
To start, create your own data files in Hugo’s “data” directory. Let’s make a file named “navbar.yml”. For instance:
navbar_links:
- name: Home
  url: "/"
- name: About
  url: "/about/"
- name: Services
  url: "/service/"
  children:  # Optionally add a child subservice
  - name: Sub Service  # Same format as parent
    url: "/services/sub-service/"
- name: Blog
  url: "/blog/"
Step 2: Implementing Data in the Hugo Template
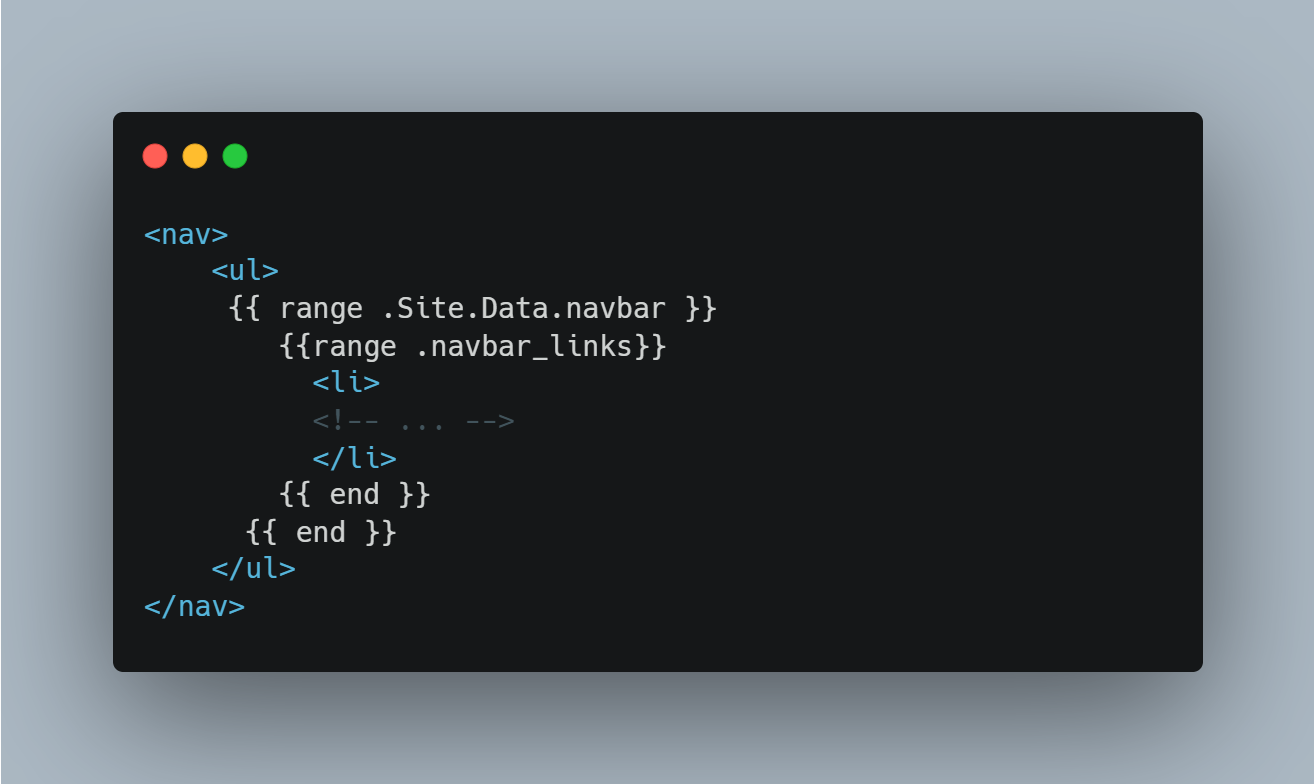
To create the navigation bar, iterate over this data in your templates. Here’s an example of how you can achieve this:
<nav>
      <ul>
    {{ range .Site.Data.navbar }}
        {{range .navbar_links}}
            <li>
                <a href="{{ .url }}">{{ .name }}
                <!-- Display a dropdown icon, if this element has children -->
                {{with .children }}
                    <i class="ri-arrow-down-s-line"></i>
                {{end}}
                </a>
                <!-- Display the children list, if this element has children -->
                {{if .children}}
                    <ul>
                    {{range .children }}
                        <a href="{{ .url }}">{{ .name }}</a>
                    {{end}}
                    </ul>
                {{end}}
            </li>
        {{ end }}
    {{ end }}
    </ul>
</nav>
Adapt the above example to your specific use case!
Step 3: Setting up Decap CMS (Formerly Netlify CMS) to Edit the Data File
Update your config.yml file for Decap CMS (Formerly Netlify CMS) to create an editable UI for your navigation bar:
collections:
  - name: "navbar"
    label: "Navigation Bar"
    files:
      - file: "data/navbar.yml"
        label: "Navigation Bar"
        fields:
            - widget: list
              name: navbar_links
              label: Navigation Bar Items
              required: true
              hint: Appears in the header of the site.
              fields:
              - label: "Name"
                  name: "name"
                  widget: "string"
                  required: true
              - label: "URL"
                  name: "url"
                  widget: "string"
                  required: true
              - label: "Children"
                  name: "children"
                  widget: "list"
                  required: false
                  fields:
                  - label: "Name"
                      name: "name"
                      widget: "string"
                      required: true
                  - label: "URL"
                      name: "url"
                      widget: "string"
                      required: true
Refer to the previous sections of this post for the necessary adjustments to the YAML file, Hugo template, and Decap CMS (Formerly Netlify CMS) config file.
Creating an Editable Footer
You can follow the same steps above, and duplicate it for any footer links you’d like to add to your site.
Conclusion
This guide provides an alternative method to create an editable navigation bar and footer with Hugo, (Decap CMS), and YAML. It empowers developers and content managers to make changes easily without delving deep into the code. For more guides like this, subscribe to our blog and stay updated!